
Logging in
OSNP staff designated for back end web site access will be assigned a user name and a password. User names will normally follow a Firstname Lastname convention, so your esteemed web developer’s user name, for example, would be Robert Ross. Note the capitalization and space separating the names.
Your assigned password, which will have been communicated to you verbally, via email or some other method, is ridiculously insecure: Changing it ought to be the first thing you do after you log into the site for the first time.

The login page for OSNP – Southwest Region is https://osnp.ca/staff. (If you ever consult online WordPress tutorials, you may be instructed to login at https://YOURSITE/wp-admin. I have changed the login address from “wp-admin” to “staff” to mitigate login attempts by malicious parties and bots.) You may log in using either your user name or the email address that was used in your account’s creation (more than likely your @von.ca address).
If you have forgotten your password you can click the “Lost your password?” verbiage under the login fields. As long as you recall your email address you should be able to get an email with instructions for resetting your password easily enough. If something goes seriously sideways and you don’t recall the email address associated with your account, please contact me (Robert Ross).
From time to time, and very well possibly on your first login, you may also be prompted with a simple math problem (ie. 10 + 6). I have put this measure in place to guard against bot or malware attacks. If necessary you may use a calculator without judgment. :^)
The Dashboard – Your Profile
Your profile consists of very little information and is of very little use as it is not public-facing. There is unlikely to be anything you need to alter or edit with one notable exception: Your aforementioned assigned password. Let’s get that changed to something more secure and memorable.
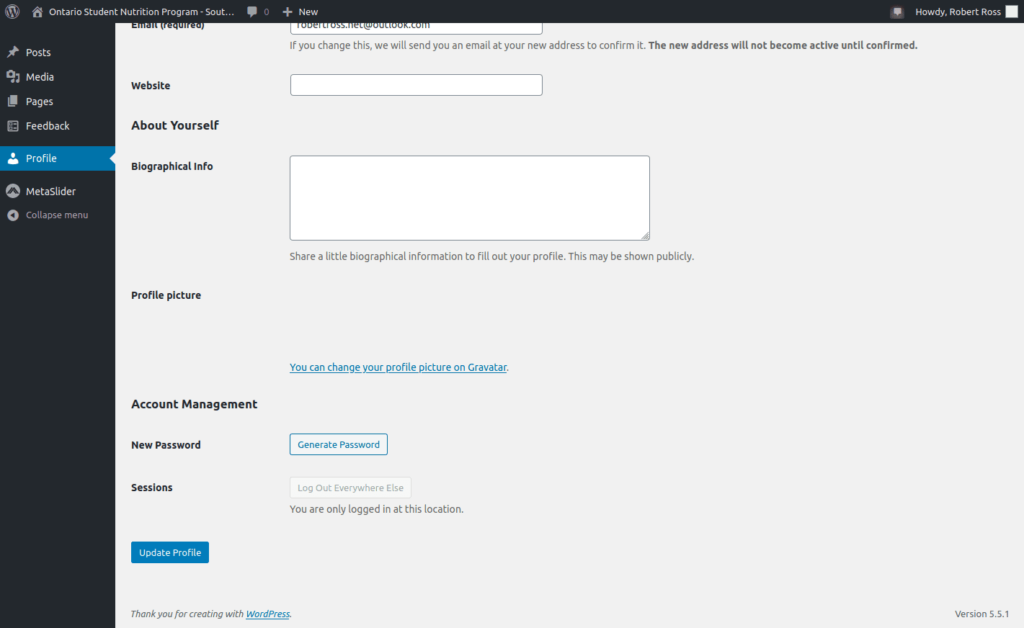
Clicking “Profile” on the left navigation of the administration Dashboard will bring you to a page with your details. None of this is public-facing and has no bearing on your work or your life… We need to scroll down until we see the Account Management heading. Immediately under that heading is New Password. Please click the Generate Password button to the right of New Password.
You can either live with the indecipherable mess that WordPress will automagically generate for you or input your own. If you choose to input your own, WordPress will indicate the “strength” of the password to you as you type it. While it is understandable to want to use something easy, simple and memorable, I highly, highly and very strongly encourage you to use some spaces, capitals, numbers and even unusual characters. Even “Password 1234” is better than password1234. Please do not make your password anything remotely similar to “Password 1234”.

Creating & Editing Posts & Pages
There are almost limitless things you can do with WordPress, which powers almost a third of the entire world wide web globally. There is no shortage of documentation and tutorials online; among them WordPress’ official documentation found here. If there is something I have neglected to cover in this Page you can consult that link, search the infinite number of WordPress tutorials at YouTube or get a hold of me directly: My email address is [email protected] and my phone number is 519 984 7641. You can also find me on Facebook.
The difference between a Post and a Page
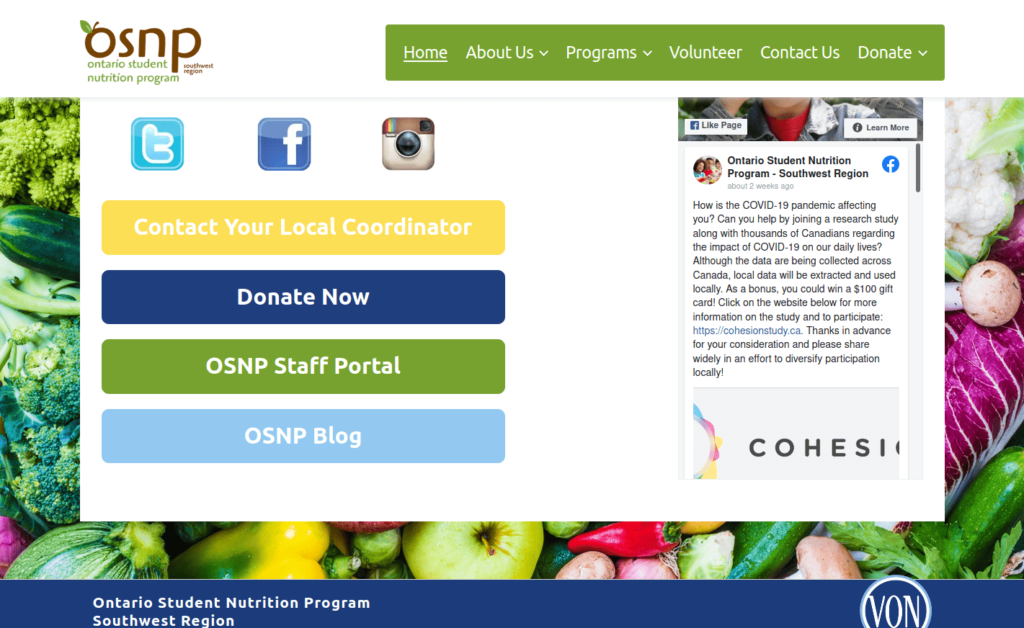
Both Posts and Pages are composed and authored in the same way but are meant for slightly different purposes. A Post is in essence a Blog entry and will be found in chronological order by clicking the “OSNP Blog” button on the osnp.ca home page. Because Posts are displayed in chronological order, older ones will soon enough find themselves off of the list of the most recent entries and are therefore ephemeral. It would probably be best to make event announcements, updates and other news items Posts.
In contrast, Pages on the osnp.ca web site contain persistent information about our organization and programs. Pages are accessible using the navigation bar at the top of the site.
Pages and the navigation bar
When you create a Page it will not automatically be added to the navigation bar. There will be instances where a page is created but should not be accessible easily by visitors – This Page you are browsing at this moment is a prime example! WordPress does not allow for Authors or Editors to edit the navigational menu; so if you create a Page and would like it listed on the navigation menu, just drop me a line.
Creating a Post or a Page
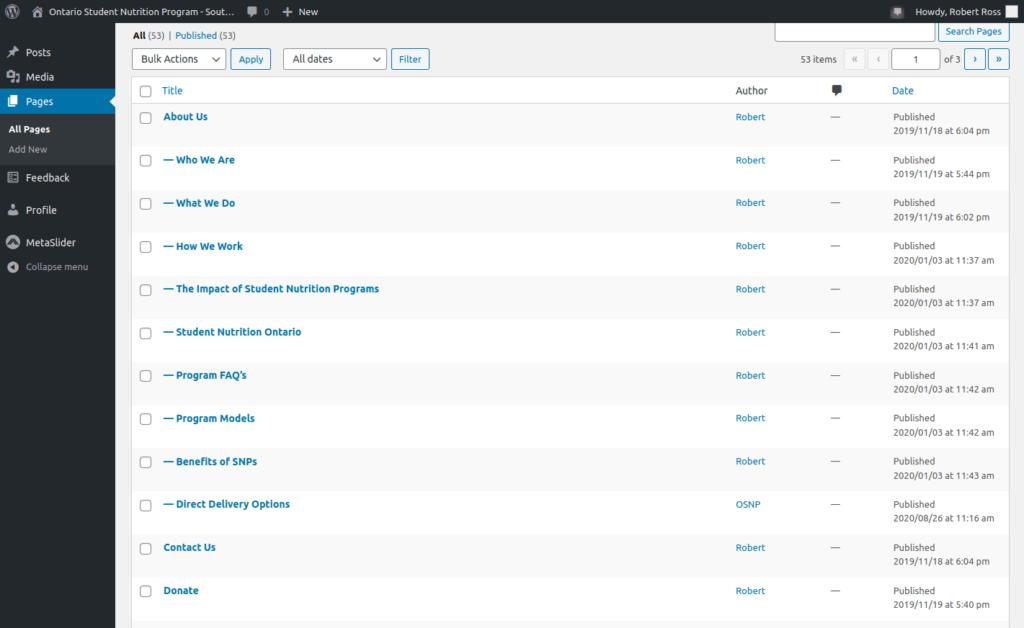
In your Dashboard, on the left navigation pane will be entries for both Posts and Pages. Placing your mouse over either one of these entries avail options, among them is “Add New”. You may also click “All Posts” or “All Pages” to see all of the Posts and Pages on the site should you wish to edit one of them. (Place your mouse over one of the Post or Page entries to see the “Edit” option.)
Clicking “Add New” in either the Posts or pages menu will bring you to the authoring page where you will compose your entry. The first time you do this you’ll be greeted with an information screen with some cursory instructions about how this thing works. You can read the little information cards or click the “X” in the upper right of any card to dismiss them:
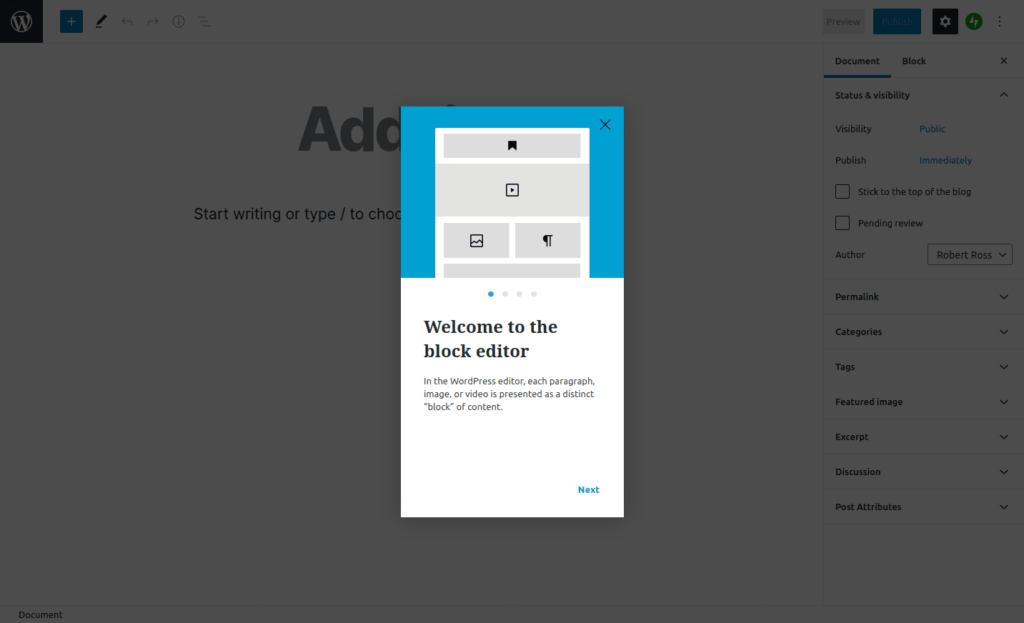
After you are done with the “first run” cards, you’ll be staring at an alarmingly blank screen. (It is usually around this time that the volumes of information swirling around in your mind somehow vanish into the abyss.)
Most of the time the content you are going to place on these Posts and Pages will consist of text, images and videos; and that is what we’ll be focusing on. Step 1, however, should be titling your Post or Page. Whatever you enter into the “Add title” field will appear at the top of the Post or Page (eg. “OSNP Documentation” on this Page) and will also form the basis of the URL, or web address, of the Post or Page.
After entering the title of the Post or Page, I usually take a moment and click the little “gear” near the upper right of the authoring page. Clicking this gear will expose, on the right side of the authoring page, some options. The two things I suggest you do is click the “Permalink” button. You can edit whatever is in the “URL Slug” field to determine the URL or web address of the post or page you are creating. For example, when I began authoring this Page and used the title “OSNP Documentation” the URL was https://osnp.ca/osnp-documentation. That doesn’t exactly roll off the tongue and I thought I may have to give that URL to someone verbally, so I edited that field to simply read “documentation” (we can’t change the “https://osnp.ca/” part) and now this Page’s location can be communicated verbally with “just go to O-snap dot C-A slash documentation”. This step is optional.
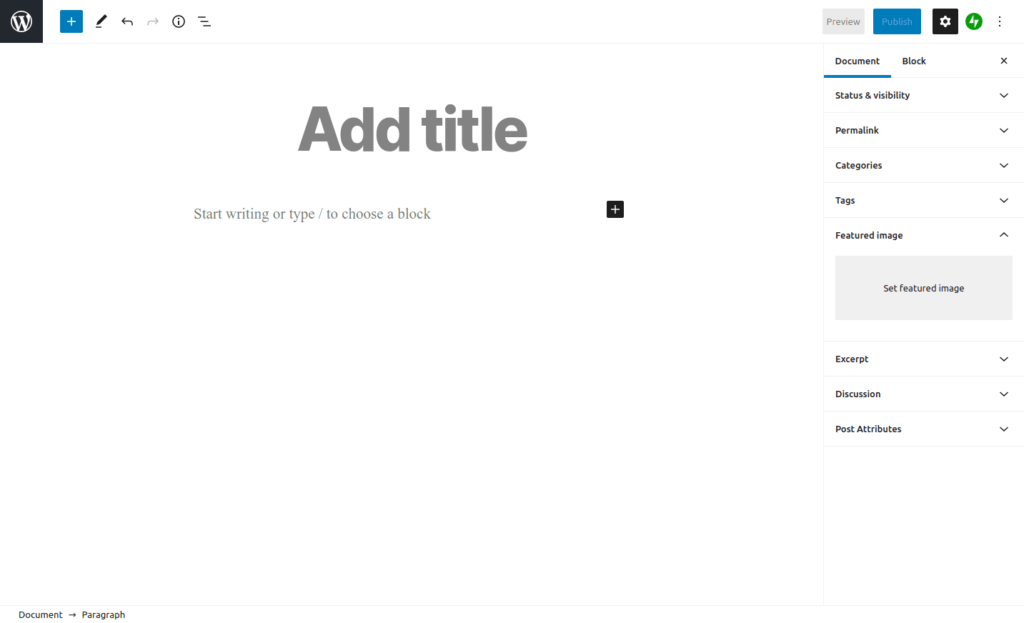
The other thing that should be attended to is the “Featured image” option. Whatever image you choose to place here will be the image used when this Post or Page is linked to elsewhere, eg. when you paste the Post or page’s URL into a Facebook post or text message, it will be the “Featured image” that is displayed in the preview.
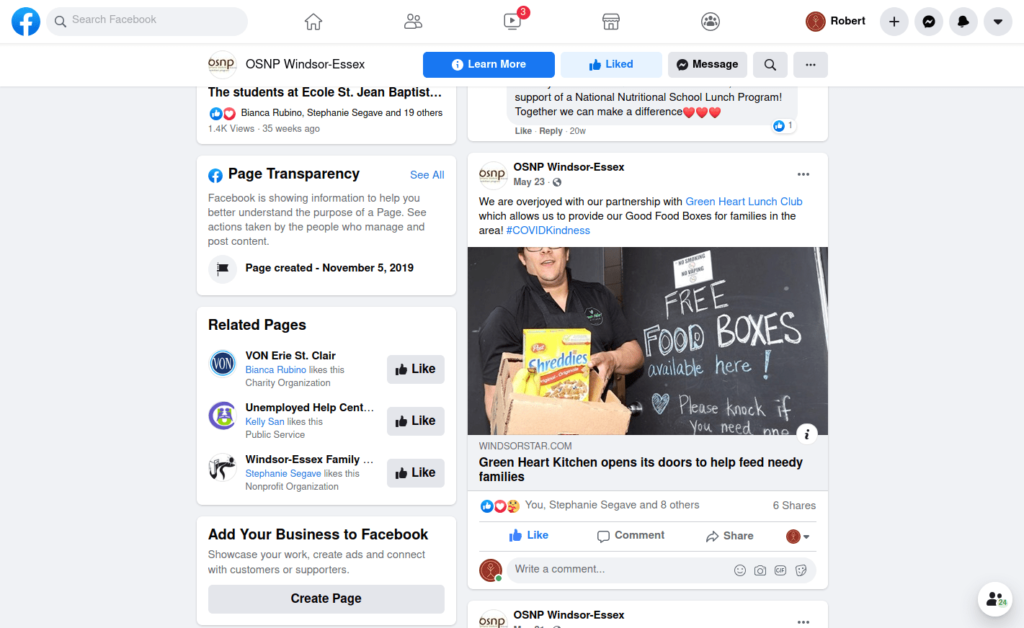
The “Featured image” is also the one displayed for each Post listed at https://osnp.ca/osnp-blog/. Not setting a Featured image will not affect whether your Post or page works or is accessible; but it will remove a lot of pizzazz from the operation.
Now it’s time to start typing something.
WordPress formats its Posts and Pages into “blocks”. Every paragraph, heading and image you see on this Page is a separate “block”.
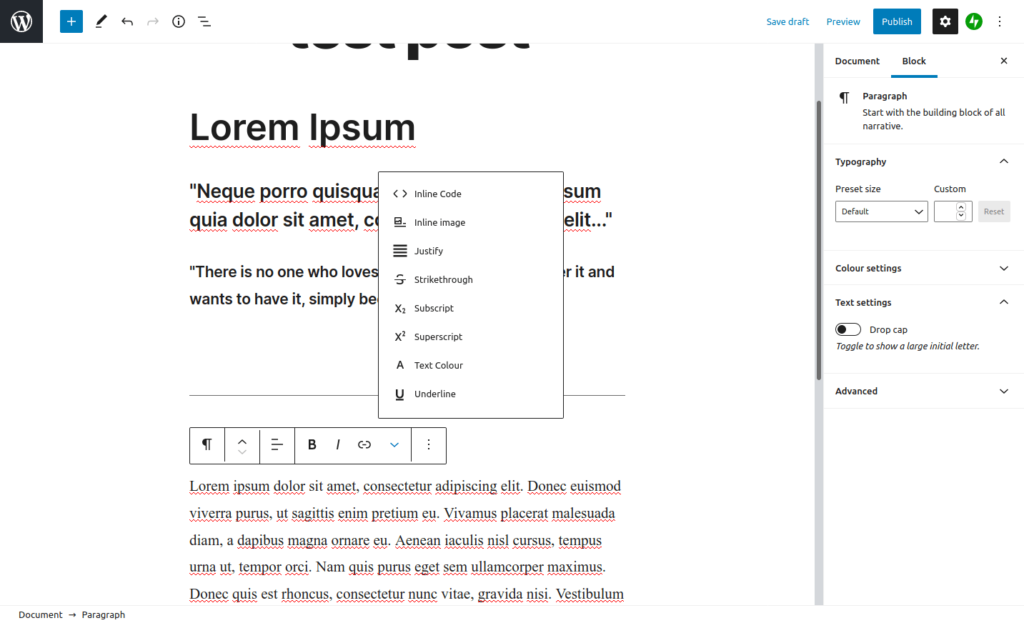
If you just begin typing where it says “Start writing or type / to choose a block” you’ll begin a paragraph. Clicking anywhere in that paragraph will bring up some formatting options like you see in the image above. You can perform basic formatting options like rendering text bold, italicized or linking to something. Clicking on images will present options for images, like cropping and resizing, aligning it to the left or right, adding a link, etc. Place your mouse over each icon to get a brief description of what each does.
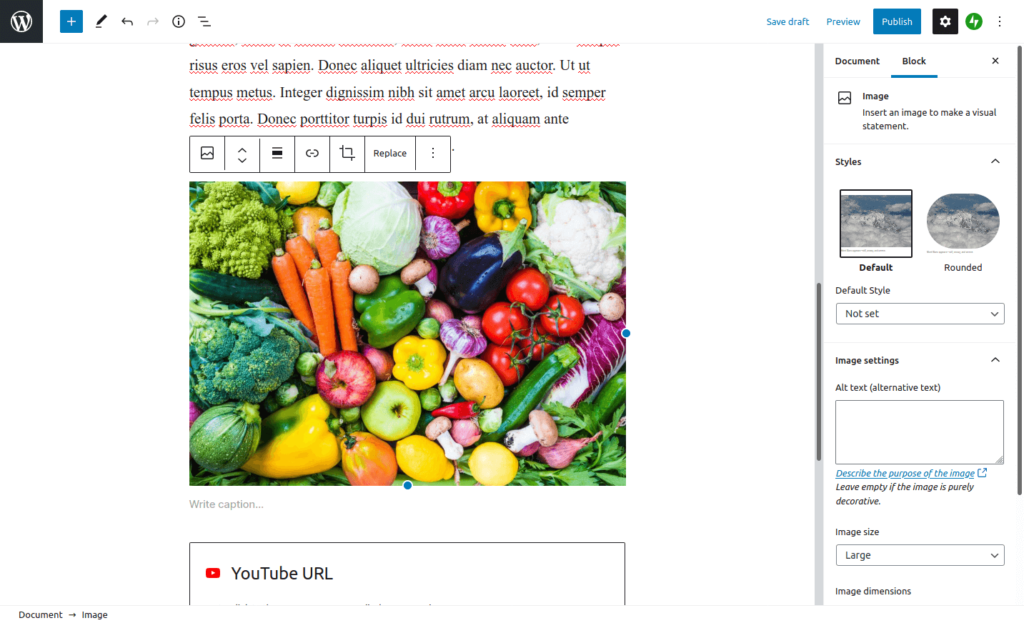
Note that in both cases of images and text, options are in the little bar that appears above the paragraph or image as well as the bar on the right of the screen. That bar on the right can be toggled visible/ hidden with that little “gear” in the upper right of the page.
Adding images and (probably YouTube) videos
When you add an image to your Post or Page, you’ll have the option to upload the image directly from your computer or choose one from the site’s Media Library. If you choose to upload an image directly from your computer, it will be placed on the Post or Page and will also be available afterwards in the Media Library.
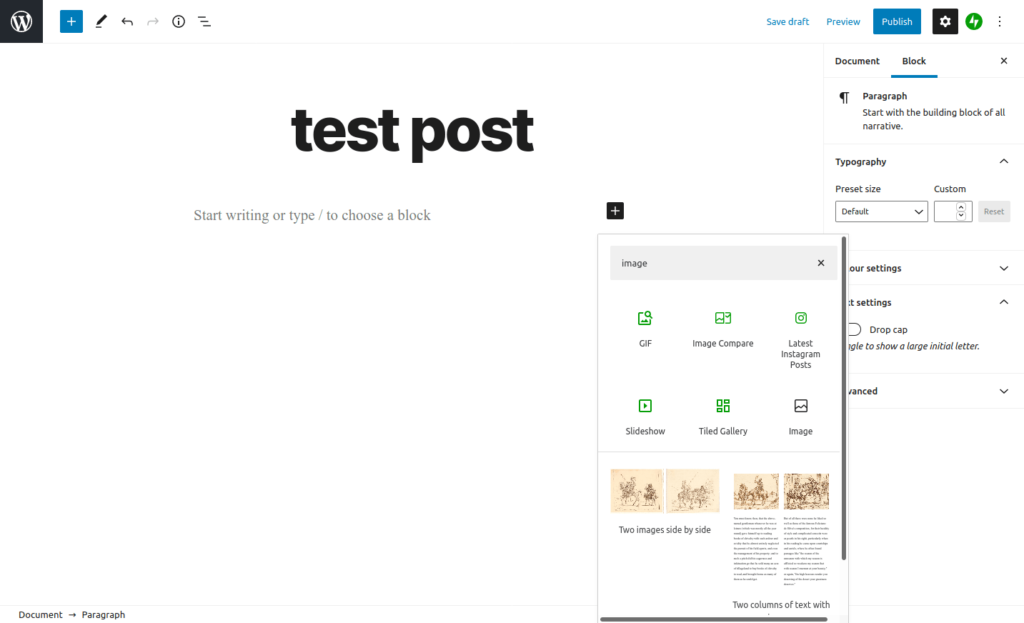
The easiest way to add an image is to click the “+” and choose or search for “image” in the dialogue box. As soon as you click on the “Image” block you’ll be prompted to either upload an image or select one from the Media Library. The Upload option will bring up a window that will allow you to browse your computer for the image you’d like to use. That window will look different for a lot of us depending on whether we’re using Windows, Mac or Linux computers; but it will be the same window you’d see when choosing a file in any other circumstance.
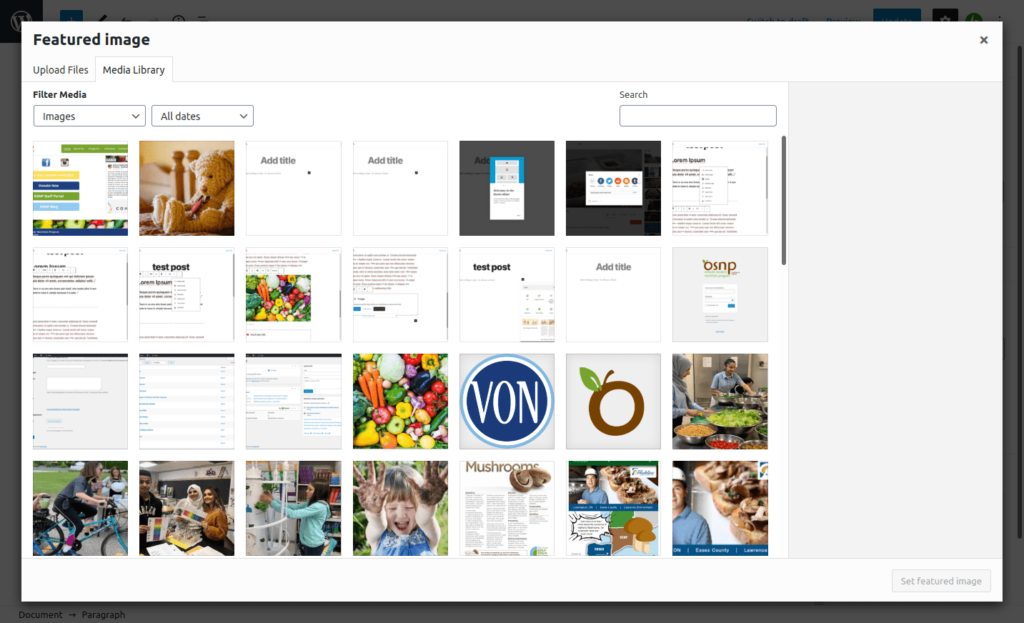
If you choose to use an image from the Media Library you’ll see something like this:
You can either scroll or use the Search function to find the image you’re after.
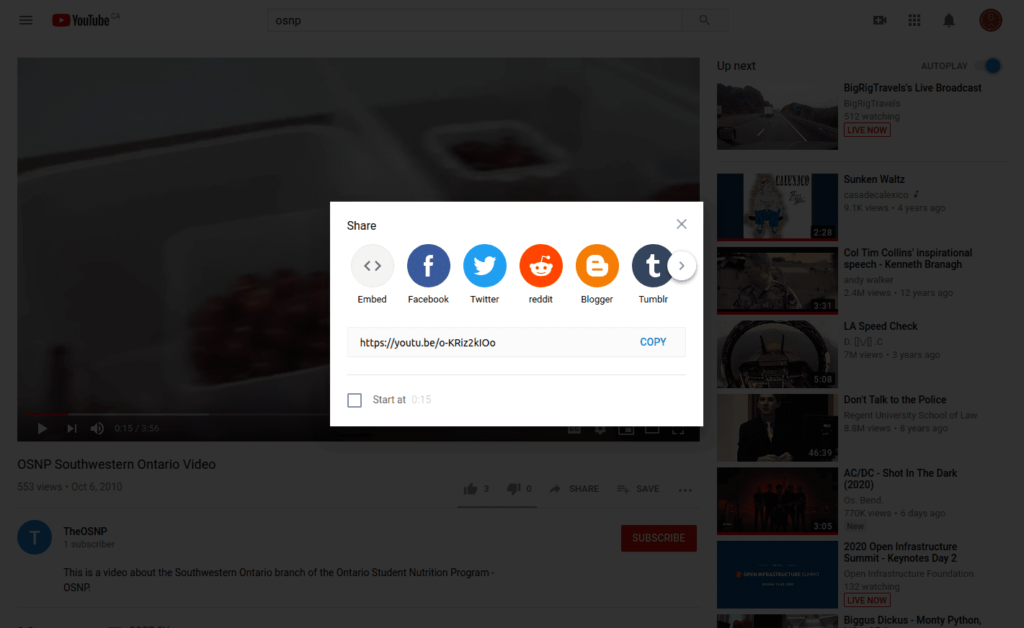
When embedding a video – We’ll use a YouTube video as an example – you’ll need the web address of the video.
On the page of the YouTube video you’d like to embed, click the “Share” button right under the video. That will bring up a dialogue box akin to the one you see above. Simply click the COPY button. Here is an example:
Like placing an image in your Post or Page, just click the “+” to the right of a blank block and scroll or search for “video” or specifically “YouTube”. Paste the address you just copied at YouTube and click the “Embed” button and the video will be placed.